Maintaining your vehicle’s engine oil at the correct level is crucial for its longevity and performance. Many drivers, especially those new to car maintenance, might feel uncertain about how to check their oil level. This guide will provide you with a straightforward, step-by-step process to confidently check your car’s oil, ensuring your engine stays properly lubricated and runs smoothly. While modern vehicles sometimes feature digital monitors, knowing how to manually check your oil level remains a valuable skill for every car owner.
Why Checking Your Oil Level Matters
Engine oil is the lifeblood of your car’s engine. It lubricates moving parts, reduces friction, dissipates heat, and helps to remove debris. Regularly checking your oil level is a simple yet vital preventative maintenance task that can save you from costly engine repairs down the road. Low oil levels can lead to increased friction, overheating, and ultimately, significant engine damage. By proactively monitoring your oil level, you can catch potential issues early and ensure your engine operates optimally.
Step-by-Step Guide to Manually Checking Your Oil Level
For most vehicles, manually checking your oil level is a quick and easy process. Here’s how to do it:
Gather Your Supplies
Before you begin, gather a few essential items. You’ll need a rag or paper towel to wipe the dipstick. Having a funnel nearby can also be helpful in case you need to add oil.
Park on Level Ground and Ensure Engine Condition
Park your car on a level surface. This is important for getting an accurate oil level reading. Next, ensure your engine is turned off. For safety, and to avoid burning yourself on hot engine components, it’s generally recommended to check the oil when the engine is cold. However, some car manufacturers advise checking the oil when the engine is warm. Always refer to your vehicle’s owner’s manual for the manufacturer’s specific recommendations for your car model.
Locate the Dipstick
Open your car’s hood and locate the oil dipstick. It’s typically easy to identify, usually featuring a brightly colored handle, often orange or yellow, for quick recognition. It is usually positioned near the engine block.
Remove, Wipe, and Re-dip
Pull the dipstick out completely. You might need to twist it slightly as you pull. Use your rag or paper towel to wipe all the oil off the dipstick. This clean wipe is essential for an accurate reading. Once wiped clean, reinsert the dipstick all the way back into its tube until it is fully seated. Ensure it goes in straight and is pushed all the way down to get a correct level reading.
Read the Dipstick
Now, pull the dipstick out again and hold it horizontally, or as recommended in your owner’s manual, to read the oil level. The end of the dipstick will have markings to indicate the proper oil level range.
Understanding Dipstick Markings
Dipsticks use various types of markings to show the correct oil level. Common markings include:
- Two Pinholes: The oil level should be between these two pinholes.
- “L” and “H” or “MIN” and “MAX”: “L” or “MIN” indicates the low or minimum oil level, and “H” or “MAX” indicates the high or maximum level. The oil level should ideally be between these marks.
- Crosshatched Area: If your dipstick has a crosshatched area, the oil streak should be within this area for a proper oil level.
If the oil “streak” on the dipstick is between the high and low marks, or within the crosshatched area, your engine oil level is generally good. If the oil level is below the “low” or “MIN” mark, you need to add oil.
What to Do If Your Oil Level is Low
If your dipstick reading indicates a low oil level, you’ll need to add more oil. It’s important to use the correct type and grade of oil recommended for your vehicle. This information is usually found in your owner’s manual or sometimes printed on the oil filler cap itself. Common oil grades include 0W-20 or 5W-30. If you are unsure, consult your owner’s manual or a professional technician.
Here’s how to top off your oil:
- Locate the Oil Filler Cap: Remove the oil filler cap, which is usually on top of the engine and clearly marked with an oil can symbol or words like “oil.”
- Add Oil Gradually: Using a funnel to prevent spills, add oil a little at a time. It’s better to add too little at first than to overfill, which can damage your engine. Start by adding about half a quart (approximately 16 ounces).
- Recheck the Level: Wait a minute or two for the oil to settle, then check the dipstick again using the steps described earlier.
- Add More if Needed: If the oil level is still low, add the remaining half quart or a bit more, rechecking after each addition until the level is within the acceptable range on the dipstick.
- Replace the Filler Cap: Once the oil level is correct, securely replace the oil filler cap.
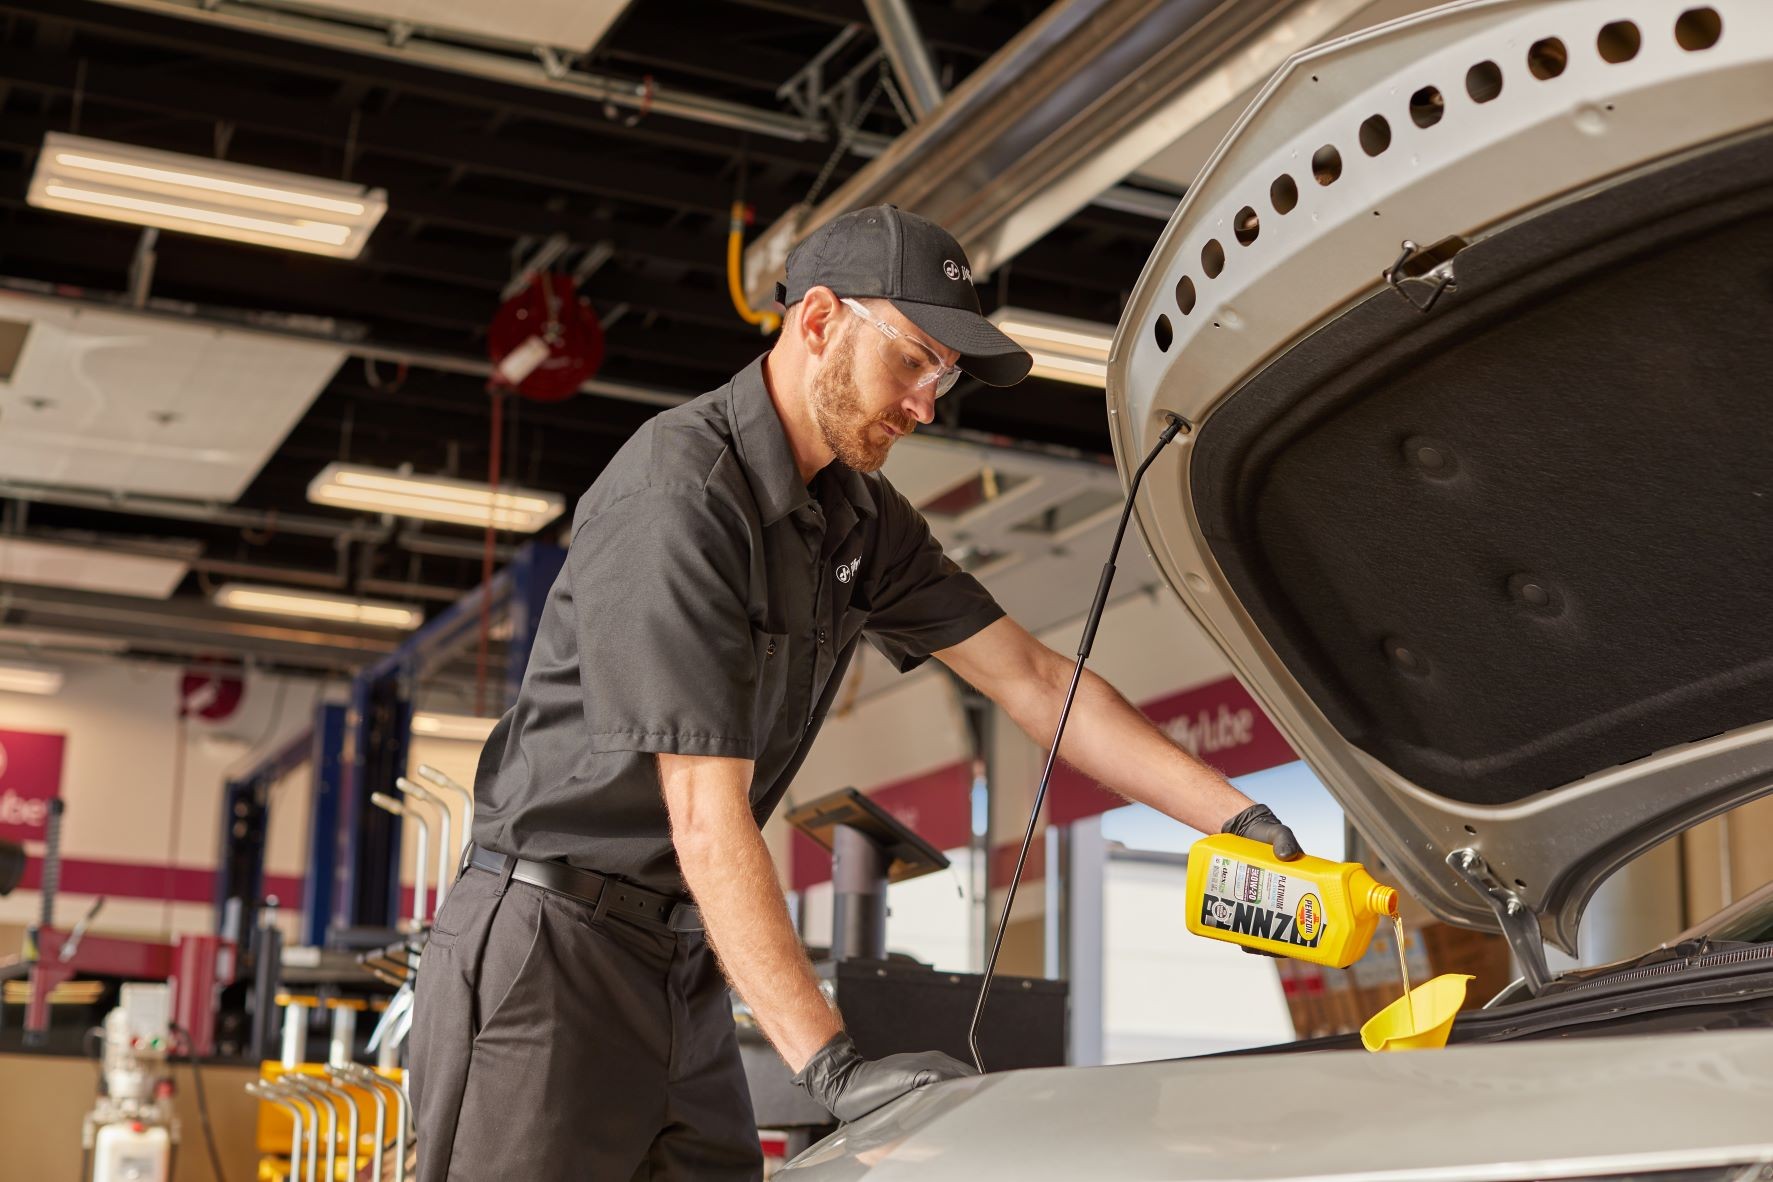 Jiffy lube technician conducting an oil change in order to prevent engine wear
Alt text: Technician at Jiffy Lube performing a car oil change service to maintain engine health and prevent wear.
How Often Should You Check Your Oil Level?
Regular oil level checks should be a part of your routine car care. A good practice is to check your oil level at least once a month, or more frequently, such as before any long trips. Some experts recommend checking it every time you fill up your gas tank. Consistent checks will help you stay ahead of potential engine problems and maintain optimal vehicle performance.
Digital Oil Monitors in Modern Cars
Many newer vehicles are equipped with digital dashboard monitors that display your car’s oil level electronically. While these systems offer convenience, it’s still wise to understand how to manually check your oil. Digital systems can sometimes malfunction, and manual checks provide a reliable backup and a deeper understanding of your vehicle’s condition.
When to Seek Professional Help
If you’re uncomfortable checking your oil level yourself, or if you notice consistently low oil levels despite regular top-offs, it’s best to seek professional help. Technicians at service centers like Jiffy Lube® can check your oil level, identify any potential leaks or issues, and recommend the best course of action for your vehicle, whether it’s a simple oil top-off or a full oil change service. They can also advise on the best type of motor oil for your specific driving conditions and habits.
Conclusion
Checking your car’s oil level is a simple yet essential maintenance task that every driver can learn. By following these steps regularly, you can ensure your engine is properly lubricated, prevent potential damage, and prolong the life of your vehicle. Whether you choose to check it yourself or prefer professional assistance, maintaining the correct oil level is a cornerstone of responsible car ownership.