Many drivers feel uncertain when it comes to checking their car’s oil level, but it’s a crucial part of vehicle maintenance. Knowing how to check your oil is a simple yet vital skill that can help you maintain your car’s engine health and prevent costly repairs down the line. Whether your vehicle has a modern digital display or a traditional dipstick, understanding how to check your oil is easier than you might think. Let’s break down the process, making it clear and straightforward for every driver.
Step-by-Step Guide to Manually Checking Your Oil Level
For those vehicles without digital oil monitors, or if you prefer a hands-on approach, manually checking your oil level is a quick task you can perform at home. Here’s how to do it correctly:
Gather Your Supplies: Rag or Paper Towels
First, get prepared. Checking your oil can sometimes be a bit messy, so having a rag or paper towels handy is essential to wipe away any spills or drips.
Park on Level Ground
Ensure your car is parked on a level surface. This is important because an uneven surface can lead to an inaccurate oil level reading. Level ground ensures that the oil settles correctly in the engine for an accurate dipstick reading.
Engine Condition: Cold vs. Warm
The engine should ideally be turned off before you check the oil. While the original article mentions a cold engine, some car manufacturers recommend checking the oil when the engine is warm. Always consult your vehicle’s owner’s manual for the manufacturer’s specific recommendations regarding engine temperature for oil checks. Checking when cold is generally safer to avoid burns from hot engine components. If checking when warm is recommended, allow the engine to cool down for a few minutes after turning it off before proceeding.
Locate the Dipstick
Open your car’s hood and find the oil dipstick. It’s usually easily identifiable by a brightly colored handle, often orange or yellow. The dipstick is typically located near the engine block and is designed for easy access.
Initial Dipstick Removal and Wipe
Pull the dipstick out completely. You’ll likely see oil on it from its normal operation. Use your rag or paper towel to wipe the dipstick clean. This initial wipe is crucial as it removes the old oil, allowing for a fresh and accurate reading in the next step.
Re-dip and Read the Level
Now, reinsert the dipstick fully back into its tube until it is seated properly. Then, pull it out again. This second dip will give you the accurate reading of your current oil level.
Interpreting Oil Level: Ideal, Low, Critical
Examine the end of the dipstick. Dipsticks are designed to clearly indicate the proper oil level, typically using one of these markings:
- Two pinholes: The oil level should be between these two holes.
- The letters L and H: These stand for “Low” and “High.” The oil level should be between these marks.
- The words MIN and MAX: Similar to L and H, “MIN” indicates the minimum level, and “MAX” the maximum. The oil should be between these.
- Crosshatched area: If your dipstick has a crosshatched area, the oil streak should be within this area for a proper oil level.
If the top of the oil streak is between the designated marks or within the crosshatched area, your engine oil level is generally fine. If the oil level is below the “Low” or “MIN” mark, or below the lower pinhole/crosshatch limit, it’s time to add oil.
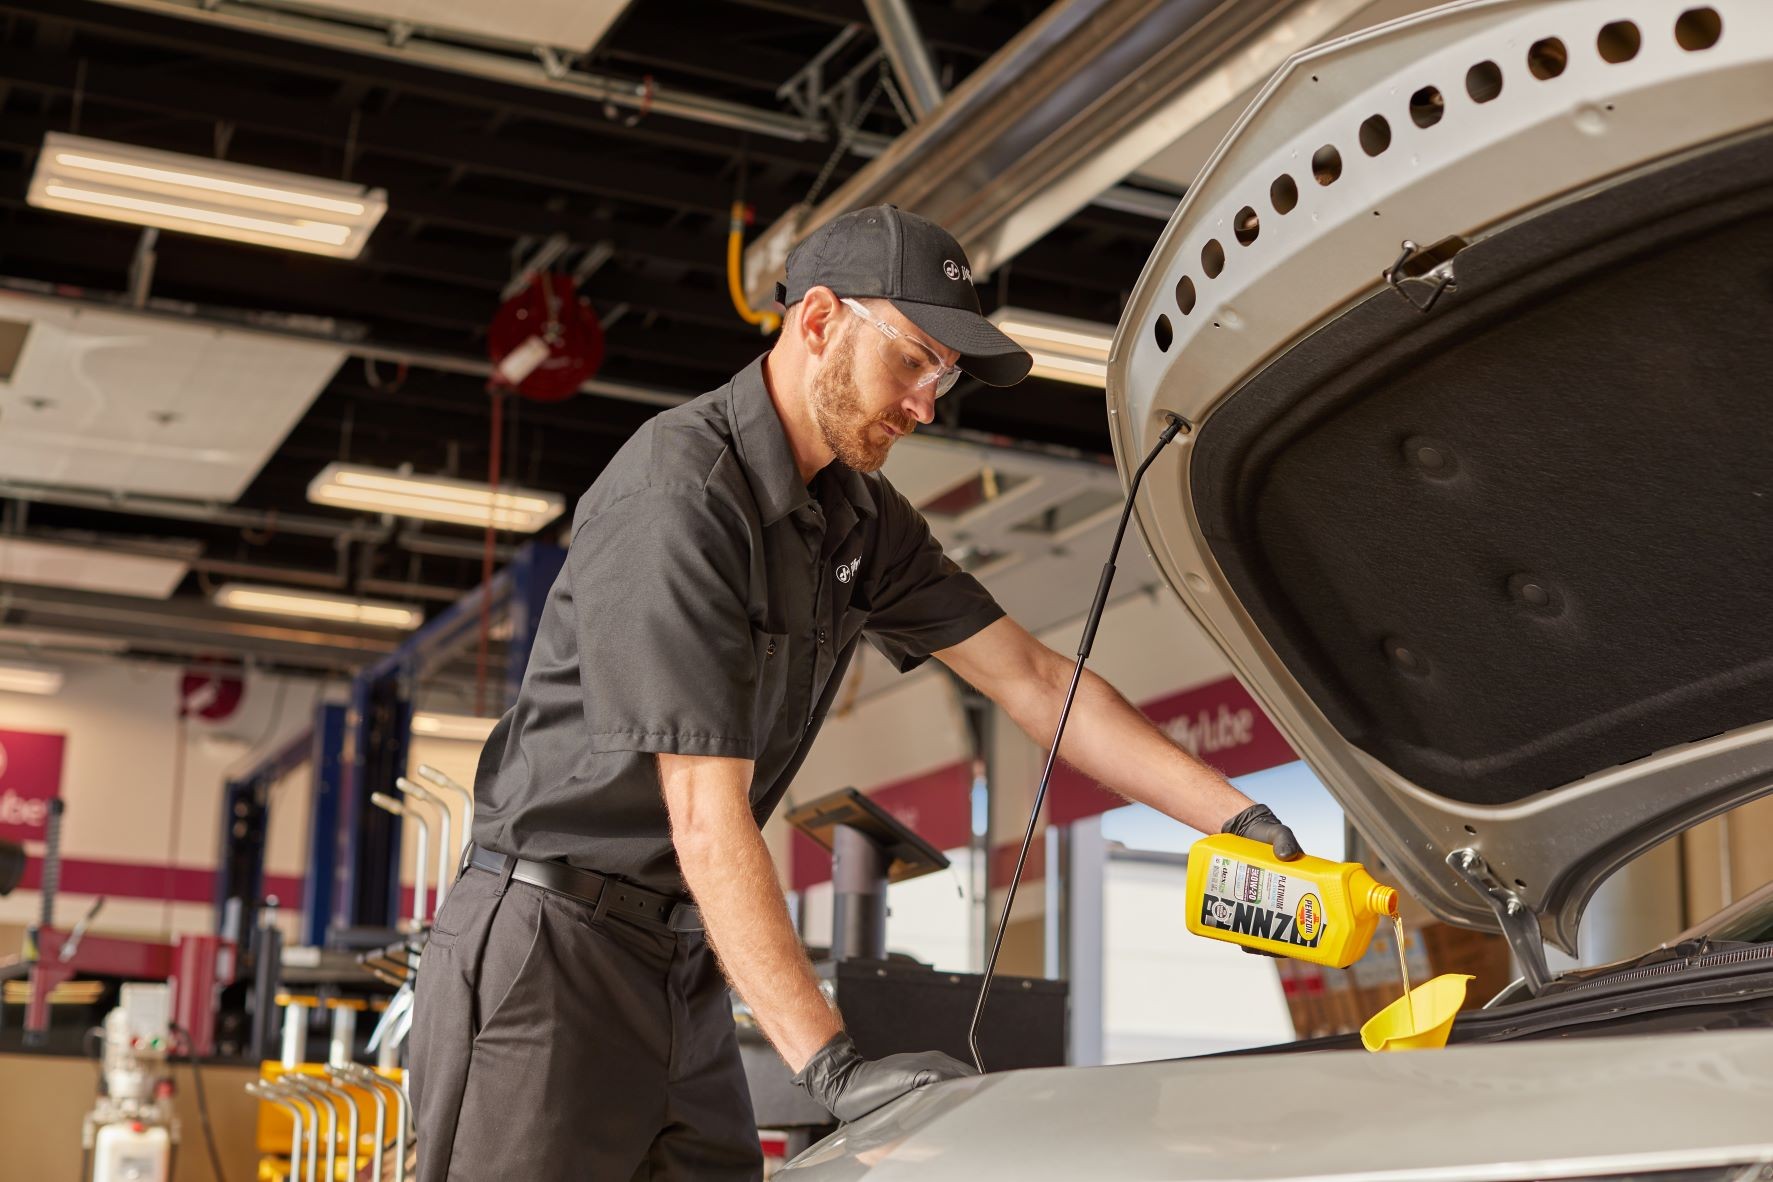 Jiffy lube technician conducting an oil change in order to prevent engine wear
What to Do If Your Oil is Low
Discovering that your car is low on oil, whether through a digital dashboard alert or a low reading on the dipstick, requires prompt action. Running your engine with low oil can lead to significant damage.
Identifying Low Oil
Low oil can be indicated in two main ways: a warning light on your dashboard or a manual dipstick check showing the oil level below the minimum mark. Neither should be ignored.
Choosing the Right Oil
When adding oil, it’s critical to use the correct type and grade recommended by your vehicle’s manufacturer. This information is usually found in your owner’s manual or sometimes printed on the oil filler cap itself. Common grades include 0W-20 or 5W-30, but always verify the specific recommendation for your car. If you’re unsure or can’t find your manual, a trusted service center like your local Jiffy Lube® can quickly provide this information.
How to Add Oil
Adding oil is a straightforward process:
- Locate the oil filler cap: This cap is usually on top of the engine and is clearly marked with an oil can symbol and often the recommended oil grade.
- Use a funnel: Place a funnel into the oil filler neck to prevent spills.
- Add oil gradually: Pour in oil a little at a time. It’s best to start with about half a quart (approximately 16 ounces). Overfilling can be as damaging as underfilling.
- Wait and re-check: After adding oil, wait for about a minute to allow the oil to settle in the engine. Then, check the dipstick again to see the new oil level.
- Add more if needed: If the oil level is still below or near the minimum mark, add the remaining half quart and check again. Repeat this process in small increments until the level is correct.
- Replace the filler cap: Once the oil level is correct, securely replace the oil filler cap.
When Should You Check Your Car Oil?
Regular oil checks are a cornerstone of preventative car maintenance. Making it a routine can save you from potential engine issues.
Regular Intervals
A good practice is to check your oil level regularly. Many experts recommend checking it at least once a month or every few fuel fill-ups. For older vehicles or those driven in demanding conditions (like frequent stop-and-go traffic or extreme temperatures), more frequent checks are advisable.
Importance of Routine Checks
Regularly checking your oil helps ensure your engine is properly lubricated. Sufficient and clean oil reduces friction, dissipates heat, and removes wear particles, all of which are vital for extending engine life and maintaining performance. Neglecting oil checks can lead to engine wear, overheating, and potentially, engine failure.
Professional Oil Check and Services at Jiffy Lube
If DIY isn’t for you, or if you’d prefer a professional to handle it, Jiffy Lube® is ready to assist.
Jiffy Lube Services
Visit your local Jiffy Lube® and a trained technician can:
- Check your oil level: They’ll accurately assess your current oil level.
- Explain your options: They can advise you on the best course of action based on your oil level and vehicle needs.
- Recommend the best motor oil: Technicians will inquire about your driving habits and conditions to recommend the optimal motor oil for your vehicle.
- Perform oil changes or top-offs: Whether you need a complete oil change or just a top-off, Jiffy Lube® provides comprehensive oil services.
Complimentary Fluid Top-Off
Remember, with every Jiffy Lube Signature Service® Oil Change, you receive complimentary fluid top-off service on vital fluids between scheduled visits. Just stop by within 3,000 miles of your last service to take advantage of this benefit.
Conclusion
Checking your car oil is a simple yet critical maintenance task that every driver can and should learn to do. By following these steps regularly, you can ensure your engine stays properly lubricated, contributing to the longevity and performance of your vehicle. If you ever feel unsure or prefer professional assistance, remember that Jiffy Lube® is always available to provide expert oil check and maintenance services.